 Once summer has gone, observant children will begin to notice a change in the behaviour of wild birds. Many of our feathered friends will begin migrating to warmer locations, evidenced by often noisy flocks heading south overhead. Those that stay in the UK, like robins and blackbirds, will soon find that all the wild berries, seeds, and grubs have been eaten — food becomes scarce as remaining supplies disappear in the run-up to winter. In view of this, wild birds will become more reliant on good-natured humans to ensure they still have enough food to eat over the colder months.
Luckily, families — and even children — are in a great position to help! By coming together to make and fill simple bird feeders, you will provide birds with a regular food source that will sustain them during a time when nature’s food sources are depleted. And, if children and families keep up the good work by refilling bird feeders with seeds and suchlike every day, they may even find they get to know some real ‘regulars’ over the winter. With all this in mind, today’s guide outlines 6 ways children and their families can construct easy-to-make bird feeders to help our feathered friends. They’re fun, creative, and are a wonderfully good thing for little ones to do for wildlife.
Peanut Garland Bird Feeders
• Difficulty level: simple! • Fun level: great fun!
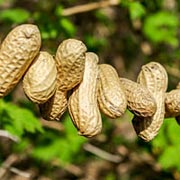 This simple type of bird feeder is quick and easy to make. Simply thread string or gardening twine through the outer husks of unroasted monkey nuts to form a garland. Holes can be made in the monkey nut husks using a small matchstick. Alternatively, if using something sharp like a darning needle, an adult should make the holes so that little ones don’t hurt themselves. Once a whole chain of monkey nuts is in line along the string, the ends can be tied between twigs, branches, or bushes, so the nuts dangle in a stretched arc. Blue tits will love pecking at the husks to get to the nuts inside!
Apple Bird Feeder
• Difficulty level: super-simple! • Fun level: not the most exciting, but simple even for toddlers.
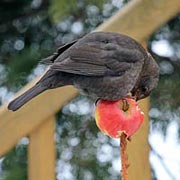 Apple bird feeders are by far the most simple to accomplish. In essence, they are simply an apple either dangling from a tree, bush, or fence, or are held high in the air from underneath by a vertical bamboo cane pushed into the ground. Whether the apple is dangled by string or held aloft by a cane, it’s best to expose some of the apple by removing some of the outer skin, so birds have a weak spot to begin feeding on. Check the apple daily to ensure it does not go mouldy; discard if so – mould can be dangerous to birds. (Adults should also supervise* children to keep them safe around hazards and other possible dangers, of course).
Milk/Juice Carton Bird Feeder
• Difficulty level: intermediate. • Fun level: super fun, especially if decorated!
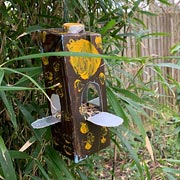 These bird feeders are extra fun because little ones can decorate them! You’ll first need an empty juice or milk carton. With help from an adult, rectangular or arc-shaped flaps should be cut on 3 or 4 sides of the carton, ensuring the bottom of the rectangle or arc is not cut. Crease and fold the flaps out at that lowest point, as shown in our example. The flaps provide a landing platform for birds, as well as access to the inside. That’s where the birdseed will go when the feeder is complete. After painting the exterior with a nice design and leaving it to dry, the carton bird feeder can be suspended by a string. This can be attached at the top, for example, by trapping it with the carton’s lid. Fill with birdseed to the level of the open flaps once suspended in place.
Plastic Bottle Bird Feeders
• Difficulty level: intermediate. • Fun level: great fun!
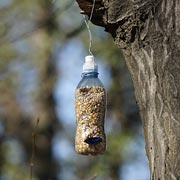
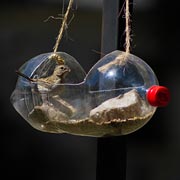
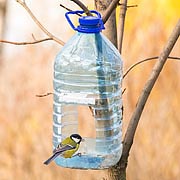
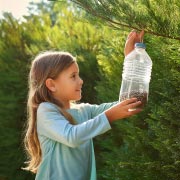
These use a similar approach to the carton feeders, although they are not so suited to painting. Empty plastic water bottles can be used as bird feeders in a variety of ways, as demonstrated in our examples above. As with the cartons, they’re suspended by a string. Two use one or more holes and flaps like the juice carton feeder above, while the other suspends the bottle on its side, as shown in the second image. These are great for bird feed or water, so long as they’re regularly checked and cleaned (under adult supervision) when needed. Please note: due to the type of plastic used, children should be careful of sharp edges. A nail file can be used to round off such edges, which will also protect birds. Adults also need to supervise* children and be mindful of possible choking hazards with many of these bird feeders.
Pine Cone Bird Feeders
• Difficulty level: intermediate. • Fun level: the most fun!
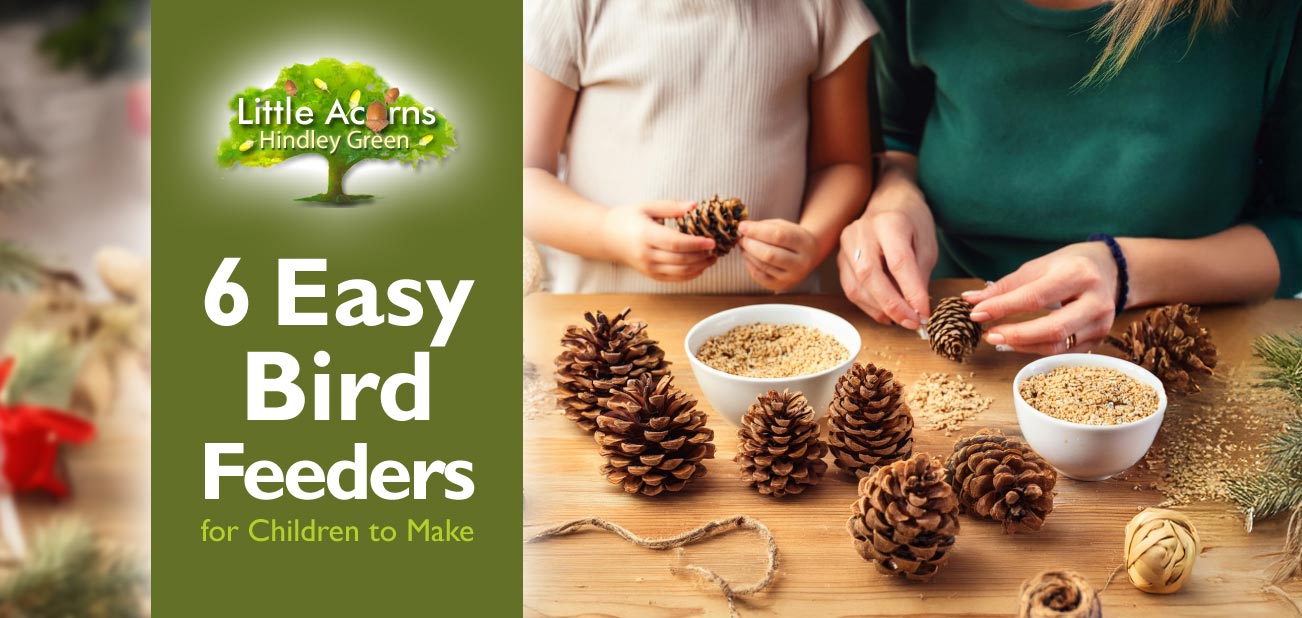
 Pine cone bird feeders are great fun for children! You first need to forage outdoors for a large pine cone. Ideally, it needs to have its many splines open, although that’s not critical. Children should smear peanut† butter all over the pine cone, ensuring it gets pushed into the cone’s many crevices. The whole thing should then be rolled around in a bowl of bird seeds, which will then stick to the sticky covering that was just applied. The completed pine cone bird feeder can then be suspended by string outdoors, somewhere suitable for the birds (usually at least 1.5m off the ground but under the protection of a tree canopy or similar so that feeding birds avoid attack from predators like sparrowhawks).
Seed Cake Bird Feeders
• Difficulty level: intermediate. • Fun level: great fun!
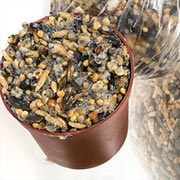 Seed cake bird feeders are a firm favourite for children to make. They’ll need some small, empty pots — plastic flowerpots would be perfect. With adult help, attach a string or garden twine to the base of the pot(s), for example, by threading it through the flowerpot drainage holes, and secure with a knot. Ensure that most of the string is left on the outside of the pot. Next children will need to mix bird seed in a suitable bowl with something to bind it together. For this part, adults will need to help by melting some lard† or beef suet† on the stove for children. They will then need to supervise to ensure it’s cool enough before children have access to it. Once mixed with bird seeds into a thick, gloopy mixture, children should fill the pots. A wooden spoon is perfect for the purpose. Once the mixture has cooled and set, the filled pots can then be turned upside down and dangled somewhere suitable for birds outdoors, for example, suspended high above the ground from a tree branch or on the side of a bush.
Teach Patience
TIP: Children will need to be Patient! Like many wild creatures, birds will at first be suspicious of anything ‘new’ on their territory. So, they’re likely to wait a while before they pluck up the courage to land and try out the new bird feeders. Funnily enough, though, we’ve noticed that sometimes the bravest birds to first try them out are amongst the smallest and cutest — blue tits!
Bird Food Considerations
Bird Seed Suggestions
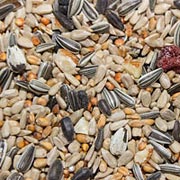 There are lots of different seed mixes available and each will attract a different range of birds. Our personal favourites are sunflower hearts, which are available in most supermarkets, garden centres, and online, and robin peanut cakes, which are similarly available. We’ve found them both to be popular food sources, attracting birds like robins, blue tits, great tits, blackbirds, doves, pigeons, nuthatches, starlings, and more. A small amount of grated cheddar cheese is also very popular, especially amongst robins and blackbirds, but must not be allowed to go mouldy (mouldy cheeses are dangerous for birds). We suggest avoiding mealworms, as each represents a little life lost unnecessarily. In any case, we love minibeasts!
†Peanut Butter, Suet, & Lard Essentials
- If feeding peanuts, use unroasted ones and, to ensure they don’t harm birds, they must be clear of any fungus (usually in the form of dusty spotting on the actual peanuts). If using monkey nuts, break a few open to check.
- Peanut butter should be natural i.e., free of salt, flavouring, sugar, and palm oil.
- If feeding suet, ensure it’s proper beef suet, which is hard and crumbly, not soft and malleable.
- If feeding lard, it should be pure lard, which remains hard even in warmer weather.
- Change bird water regularly and clean feeders, bowls, and baths.
- RSPB guidelines are also available here, and ensure children exercise good hygiene practices.*
You May Also Like …
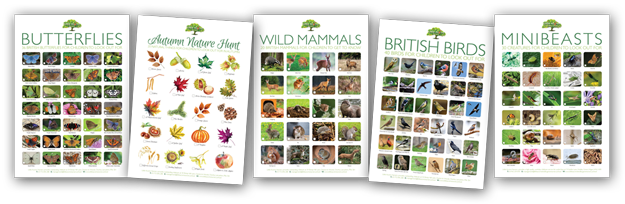
If you’re little one likes birds, he/she may also be interested in our free bird-spotting poster, available here.
Nature at Little Acorns Nursery, Hindley Green
 Children get lots of opportunities to spend time around nature and benefit from outdoor play at Little Acorns Nursery in Hindley Green. We’re very lucky to have unusually extensive grounds where children can explore wild zones, nature, and many other outdoor opportunities. Both nature and outdoor play are essential for every child to experience regularly — both are incredibly good for them — so we hope today’s bird feeder activity encourages an even greater interest for our little ones. It will also mean children and families are doing their bit to help birds at a time when food is becoming less abundant in the wild.
If you’d like to explore a possible nursery place for your baby, toddler, or child under five at Little Acorns in Hindley Green, do get in touch. We’d love to tell and show you more — please choose an option:
Little Acorns is a nursery in Hindley Green near Wigan, and, as such, may also provide a convenient choice to families nearby in Bolton, Ince-in-Makerfield, Platt Bridge, Westhoughton, Atherton, Leigh, Bickershaw, and Tyldesley.
* Health & Safety Considerations
Always supervise little ones outdoors and when making bird feeders. Encourage good hygiene practices, and be aware of allergens (e.g., nuts) if applicable to you/your child.

 Following May’s
 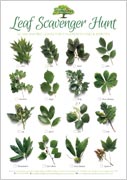 Children will need some leaves for these ‘leaf art’ activities. We suggest they collect a wide selection of shapes, sizes, and varieties, so they have the flexibility to undertake any of the leaf art activities below. Our
 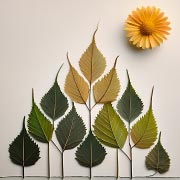 Whether fresh, dried, or pressed (see below), leaf collages can be used to make wonderful pictures and designs. With a little imagination, leaves can suddenly resemble little trees and landscapes, or be combined into formations that depict a flower head or a graphical design. The accompanying images show a couple of examples to get children’s creative juices flowing.
 One of the most straightforward creative activities with leaves is simply to paint and decorate them with coloured paints. Doing so can create highly attractive groups of leaves that are fun and cheerful to look at. Experiment with flat colours or more intricate decorations such as polka dots, stripes, stars, or zigzags. Glue the finished leaves to paper or card once dry to use them as part of a leaf collage (see above).
 Leaves and small flowers can be dried, flattened, and kept longer by pressing them. Once pressed and dried, they’re like little works of art in themselves and are quite delightful. They can be kept as bookmarks or keepsakes, or used as art and collage components for some of the other leaf activities outlined today.
 Leaf rubbing is a simple yet effective art activity involving leaves. First, simply place a leaf under a sheet of fairly thin paper. Holding the paper still with one hand, children should use their writing hand to rub a crayon, pastel, charcoal stick, or soft pencil lead over the area where the leaf sits, scribbling from left to right in closely aligned lines. A ‘picture’ of the underlying leaf will gradually appear!
 Leaf printing is super-easy and fun for little ones. Find a suitable leaf and, using a broad brush or — better still — paint roller, paint the most textured side of a leaf with a thin layer of paint, ensuring it covers the whole side of the leaf. Then, while the paint is still wet, place the painted side carefully over a sheet of blank paper. Without moving its position, press all parts of the leaf down so the paint makes contact with the underlying paper. Another way to accomplish this is to use a clean roller to ‘roll’ over the leaf so it connects the paint with the paper. Carefully remove the leaf and — hey presto — you should have an image of the leaf structure and texture right there on the paper. Try different leaves, various colours, and overlapping experiments to accomplish different outcomes.
 Instead of painting or using leaves directly, children can also try to depict them with their own paintings and drawings. These are a good way to encourage children to focus on getting the shape and details correct, fine-tune hand-eye coordination, and bolster technical mark-making skills. And, because children are free to paint or draw however they like, they can let their imaginations run riot and perhaps invent their own leaf shapes, leaf patterns, and natural worlds on paper.
 Children can use some of the creative skills they’ve learnt in the activities above to make greeting cards that feature their leaf art. For example, they can forage for heart-shaped leaves and paint them cerise pink to use as part of a simple Valentine’s Day or Mother’s Day greeting card. More general greeting cards for other special occasions can also be accomplished using leaves and dried flowers — for example, arranged to depict a leaf or dried ‘bouquet’ on a card sent for a birthday.

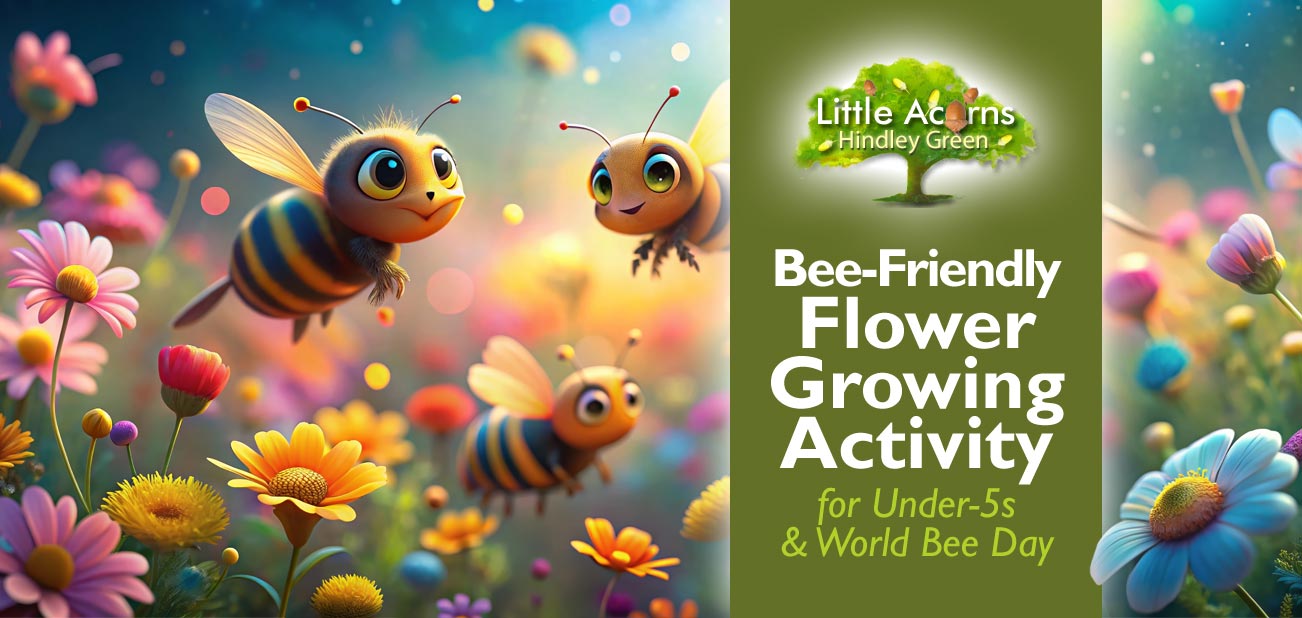
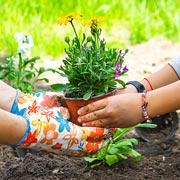 With World Bee Day arriving on the 20th of May and National Children’s Gardening Week arriving on the 24th, it’s an excellent time for a flower-growing activity for children — including under-fives. More specifically, the growing of bee-friendly flowers — from seeds — will be an excellent way to celebrate World Bee Day and support these adorable little creatures. Bees, butterflies, and other pollinators are incredibly important for the world, being largely responsible for pollinating the crops, including nuts, seeds, fruits and vegetables, that we rely on for food. Yet they are under threat with numbers dwindling severely in recent years. Without bees and other pollinators, the world’s animals, plants, trees, and flowers would be in real danger. Today’s bee-friendly flower-growing activity is therefore an incredibly worthwhile one for children to get involved in. It’s fun, highly educational for little ones, and will help to make the world a better place! Little ones, let’s get growing!
 Unless seeds are available from friends and family or harvests from previous years, parents of under-fives will need to source them. However, that’s easy and can be incredibly inexpensive. Most supermarkets sell seed packets and, if not, there is a whole range of online stores to choose from (
 If children are going with our recommended second option, they will first need to read packets to ensure their timing is right. For seed trays, they can use inexpensive, commercially available seed trays or use smaller options like flower pots. Another free alternative is to use repurposed margarine tubs, yoghurt pots, or similar. Whichever option they choose will need drainage holes added underneath by supervising parents plus a drip tray of some kind. Whether that’s a commercial one or something as simple as a saucer is up to families.
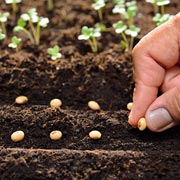 Once the soil is layered into the seed trays or pots, to a level an inch or so below the top, children can indent the soil/compost for the seeds to go into. Seeds can be manually spaced out into these indents so that, once they grow, the individual plants will be easily separated. We suggest scattering a shallow layer of sieved soil or compost over the seeds once placed into the indents and given a sprinkling of water.
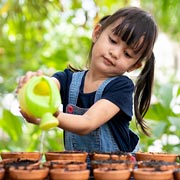 Children should continue to water the seedlings regularly, when needed, and may also have to thin out any ‘clumps’ or plants that are too close together, otherwise, several plants may get tangled and have to compete with one another unnecessarily.
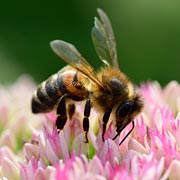 Once flowers appear, children can expect pollinators like honey bees, bumblebees, butterflies, and hoverflies to appear. It’s going to be magical for children when that day first arrives! Bees and the other pollinators truly are delightful and adorable. Children should look but not touch*, after all, bees have important work to do!
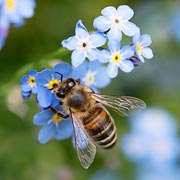 This activity will raise awareness of bees and pollinators in children of all ages. It’s not only a wonderful way to introduce children to these adorable creatures, but also a great opportunity to raise awareness of the plight bees and pollinators are facing. They are under severe pressure from habitat loss, global warming, the use of harmful pesticides/weedkillers, pollution, invasive predators, and many other threats that have made their populations plummet in recent years.

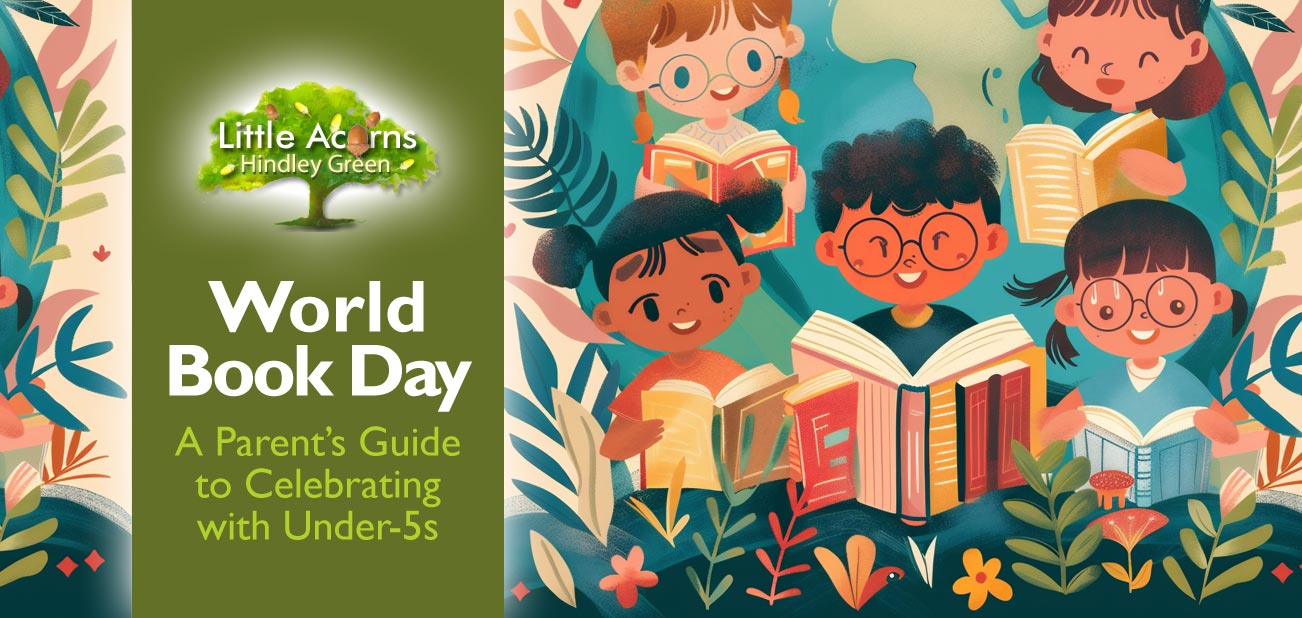
 World Book Day is a special charitable event, celebrated globally, that encourages children of all ages to discover the joy of reading. Why? Because reading has the power to substantially improve children’s lives. Schools, nurseries, and libraries across the nation make the day extra special for children through storytelling sessions, fancy dress, and book-related activities.
 Find time for your little one to read.
 Dress up as a favourite character! There’s no need for elaborate costumes; a simple hat, crown, or themed outfit inspired by a beloved book character can bring your child’s favourite stories to life.
 Since September 2024, the number of free childcare hours available for eligible children aged 9 months to 2 years (inclusive) is 570 per year. This is usually taken as 15 hours per week over 38 term-time weeks of the year*. In further good news, the allocation is set to double to 1140 hours per year from September 2025, thereby aligning with what eligible 3 and 4-year-olds are already entitled to (see below).
 Meanwhile, a total of 1140 hours of free childcare is currently available for eligible children aged 3 and 4 each year. This is usually taken as 30 hours per week over 38 term-time weeks of the year*.


 Draw up a short list of possible settings for your child, having first whittled down the choices by
  If your child already has a friend or neighbour of a similar age who will also attend your chosen nursery, it can be very useful. Both children will then have a friendly face to play with from Day 1. If not, it should be easy enough to ask around to find out about other local children who will start at the nursery when your child does. Arranging play dates for them in the weeks running up to the start date will help each child familiarise themselves with one another, so they each have a friend or two at the nursery right from the start. It’s a great way of settling them in.
 Aside from the initial guided tours undertaken, we schedule 2 formal settling-in visits for children once a place has been offered. These hour-long settling-in sessions usually occur in the week before children are due to start at the nursery formally. They are both free of charge. Here’s how they are approached:
 Reassuring your child will also help them settle into nursery – so communication is key. This is true both before they start and once they attend, particularly at the beginning. Before starting, it’s important to ensure they know that changes will soon happen, what to expect when the time comes, and that it’s going to be a big adventure with lots of fun! Encourage questions and answer them sensitively. They also need to be reassured that you will always be there, behind the scenes, looking out for their best interests. And, of course, it’s crucial for them to know you’ll be there to pick them up at home time (don’t be late!).
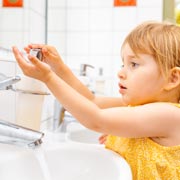 As we said previously in our
  Encourage children by celebrating their successes at the nursery. Whether it’s the successful completion of their first day, the first tear-free day, the making of a new friend or any other accomplishment, ensure you congratulate your child. This will give them a sense of achievement, reassure them that they’re doing well, and encourage them to keep attending and building on their progress.
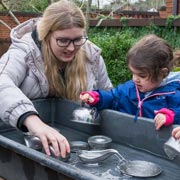 With children sometimes taking as many as 2, 3, or even 4 weeks to fully settle into a new nursery, it’s also important for staff to closely monitor and nurture them. That’s indeed exactly what we do at Little Acorns Nursery in Hindley Green. We ensure the setting is a home-from-home environment for children as much as possible. Children will feel valued, loved, listened to, and well cared for at Little Acorns. We’ll reassure them when they need it, communicate well with parents/carers, discuss any challenges and work to address them speedily and in the most effective ways. We have children’s best interests at heart, so parents can rest assured that their little ones are kept safe, happy and well and, even if not immediately, they’ll grow to love being at the nursery. A couple of recent testimonials prove the point beautifully (hover over them to pause):